4 Ways to Use Dumpsters for Home Theater Renovations
websitebuilder • July 2, 2020

Home renovations offer the chance to completely change your home. As you convert a spare bedroom or living room into a fully functional home theater, learn ways to take advantage of a dumpster rental.
With a dumpster rental and tools ready to go, you can speed up the renovation process. Follow our guide, and learn how to take advantage of a dumpster rental while you complete the project.
1. Window Removal Waste
The sun is one of the biggest problems when it comes to home theaters. Sunlight creates glares and reduces the contrast on the screen. Keep sunlight out of a home theater space with window removal.
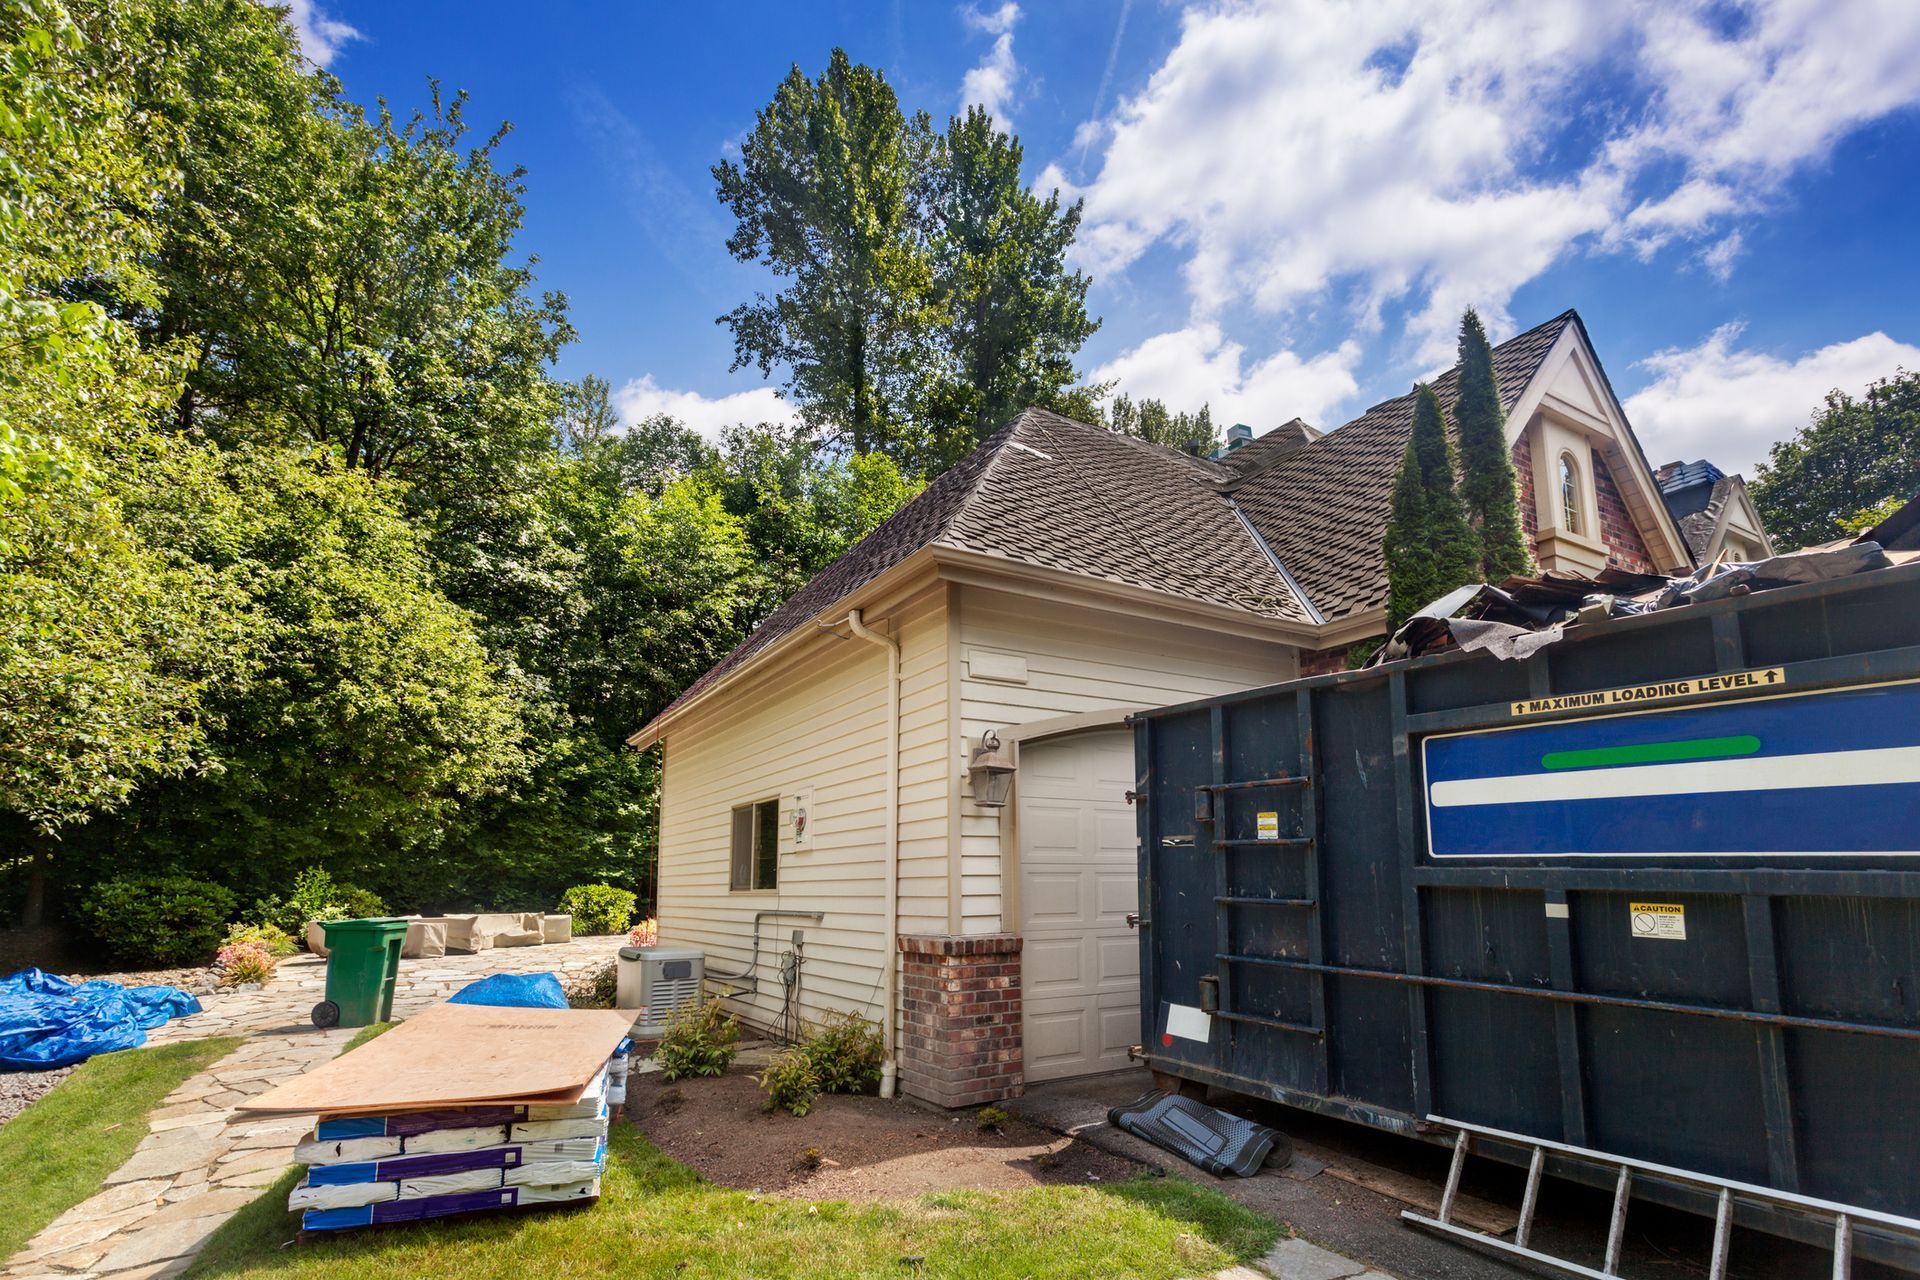
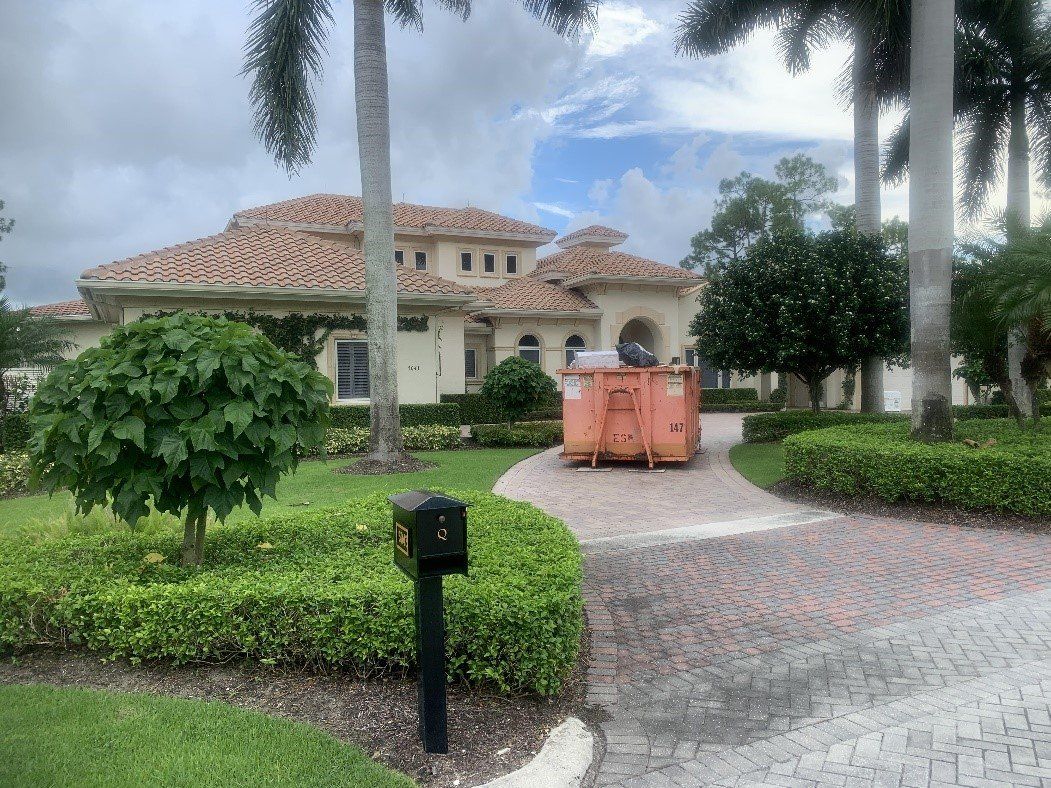
For the renovation, you would remove the window and the trim surrounding the window. You could place a dumpster rental right next to your home so you could easily toss out the window and other construction material. Dumpsters often accept glass, wood, and drywall all within the same bin, so you won’t have to separate the materials.
Once removed, you will frame in the window using wood, add insulation, and complete the wall with proper drywall and siding. As you fill the space, you will have leftover debris, including chucks of wood, extra insulation, and siding pieces. Leave the dumpster near the window to have easy access until the whole project is complete.
2. Floor Replacement Waste
The flooring in a home theater makes a big difference on the sound. Ideally, you want to remove old flooring and install fresh new flooring with better acoustics. Roll up and discard old flooring directly into a dumpster for easy removal. Use a box cutter to cut up whole carpets into smaller sections. You will help save space within the dumpster.
If possible, remove the old flooring first. If you pull out a large section of carpet, you could lay the carpet out on the bottom of the dumpster to save a lot of space. Layer sections of the carpet onto each other to create a large flat area. The same process works for other flooring like linoleum.
3. Wall Upgrade Waste
Many home theaters feature wall upgrades like built-in shelves. The built-ins give you plenty of space to organize remotes, electronics, and media. The installation of a built-in creates a lot of debris, including drywall, wood, or old wallpaper. A dumpster can eliminate the need for numerous garbage cans.
For example, you could have a large empty garbage can in the room. As you work, toss all the debris into the garbage can. Once full, dump out the debris into a dumpster and return the empty garbage to continue your renovations. The process moves faster and prevents extra waste in your traditional garbage bins or dump runs.
4. Extra Waste
If you have extra space in the dumpster, use the space as you finish up your home theater renovation. For example, if you purchase new speakers for a surround system, you can toss the old speakers into a dumpster. Add other old equipment like receiver boxes, televisions, or DVD players.
With new built-in wall shelves, you may want to break down old racks and shelves. Toss the items directly into a dumpster. If you upgrade a DVD collection, you may digitize discs or minimize the space the discs take up. Toss the large plastic cases and other accessories right into the dumpster.
Keep the dumpster rental until the project is complete. For example, you may remove a ceiling fan to replace the location with a projector. A ceiling fan is an easy piece of garbage you can toss directly into a dumpster.
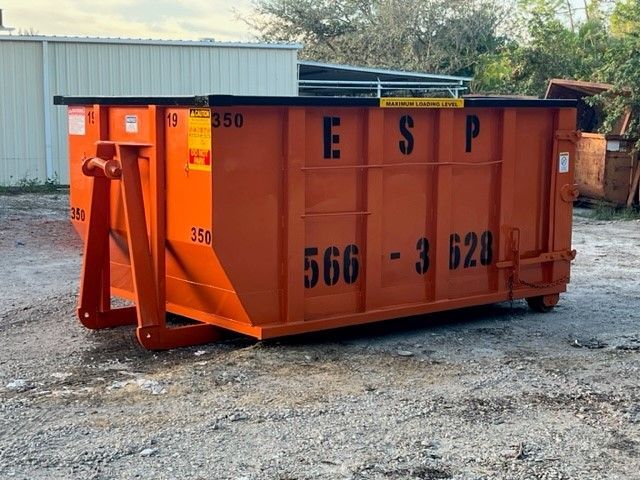
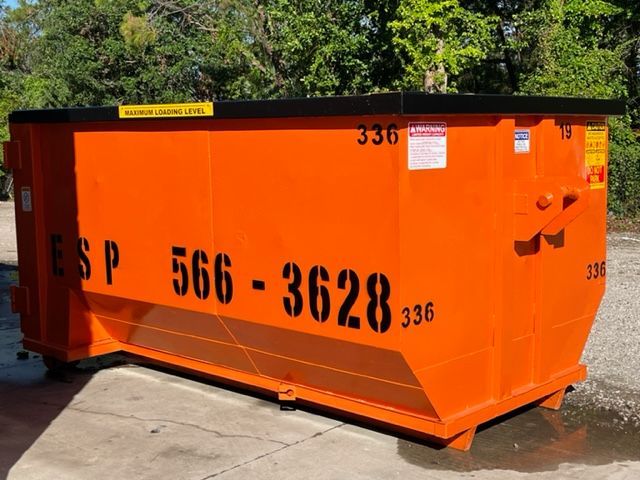
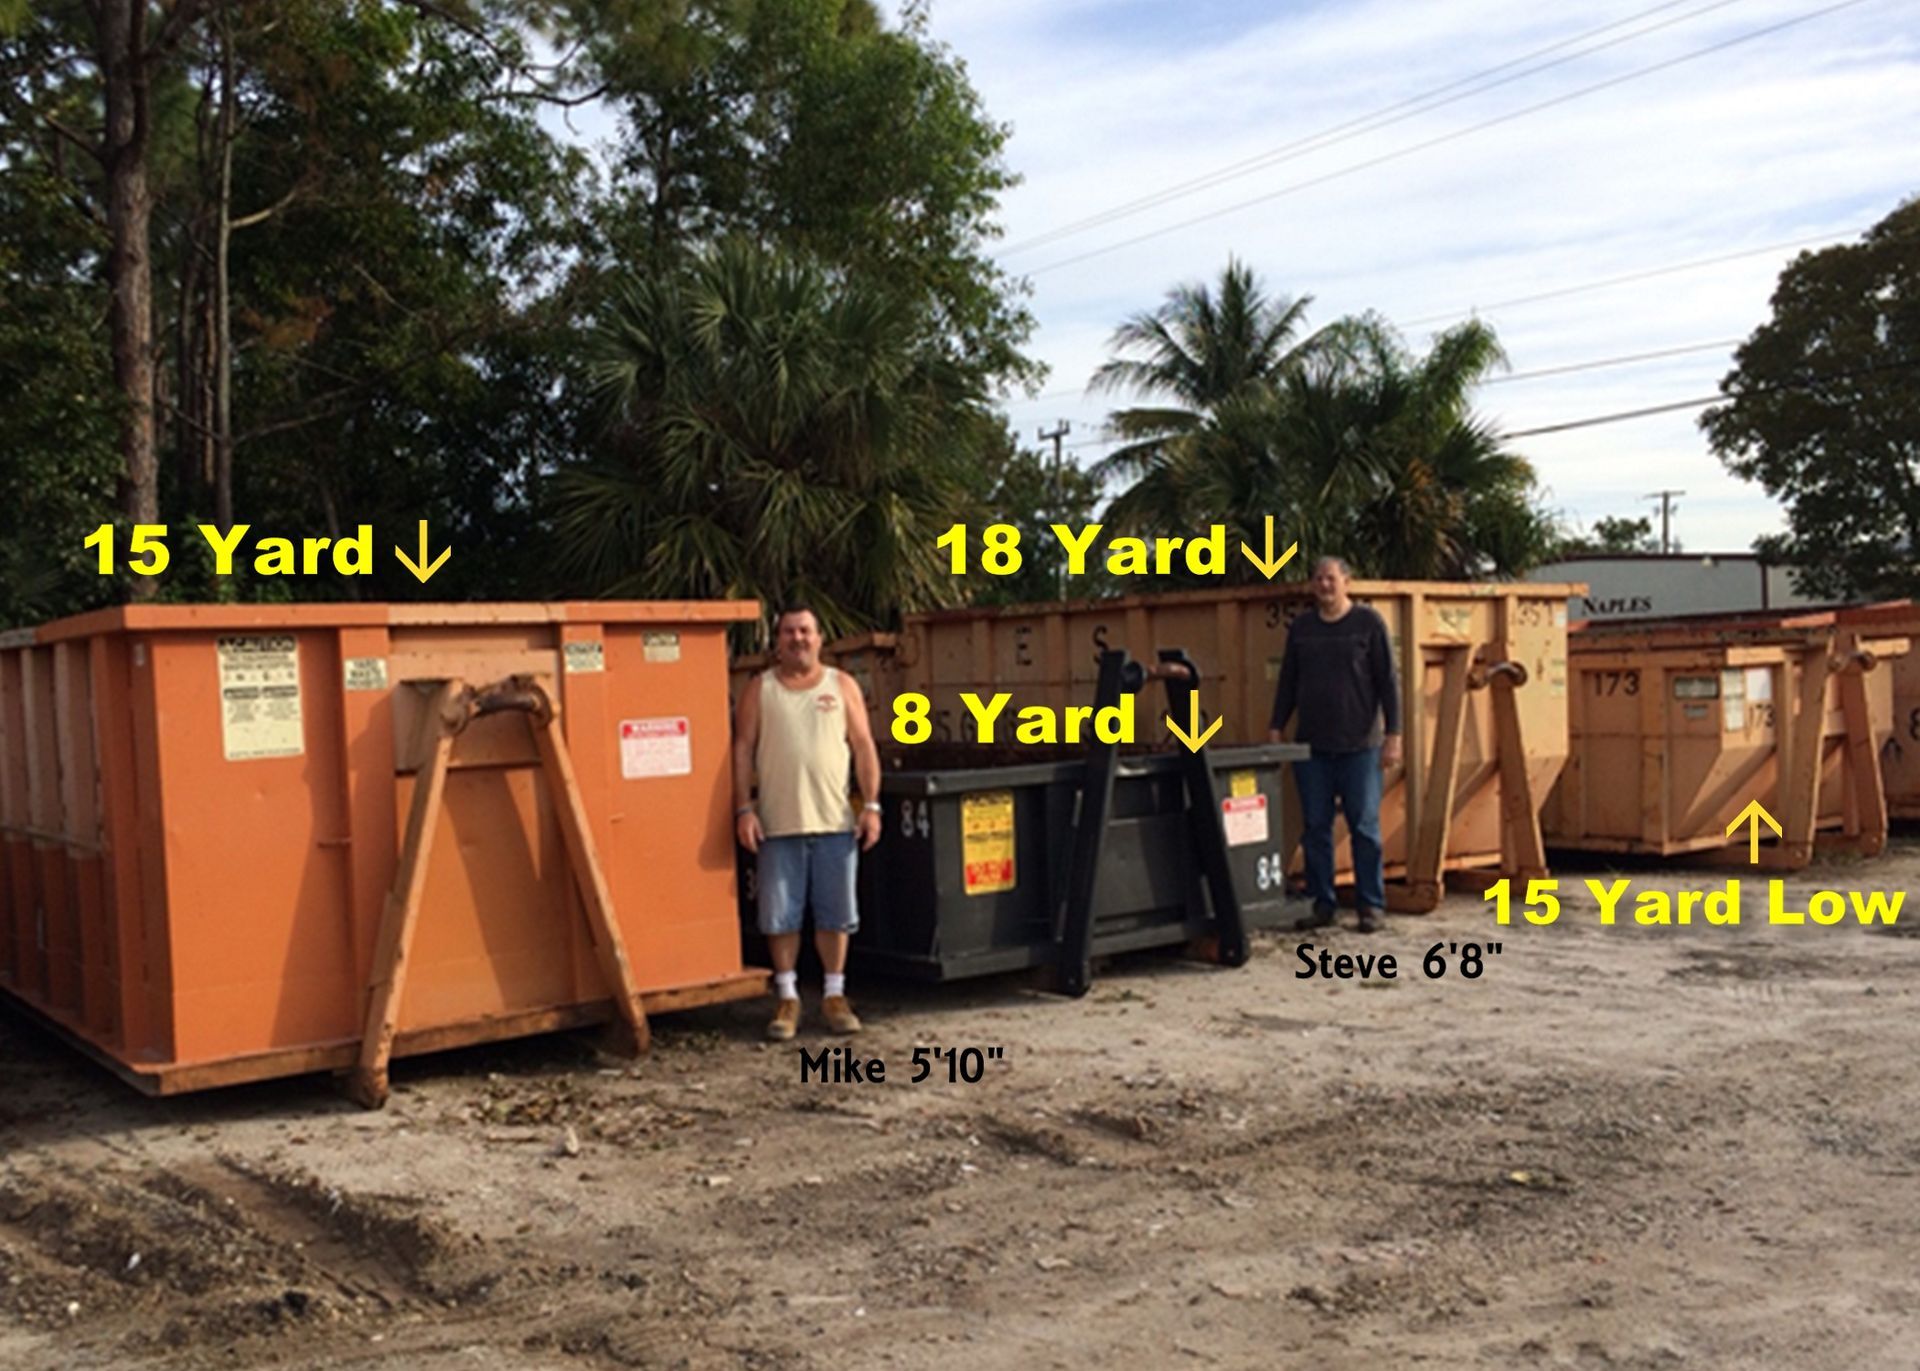
Get started on your home theater renovation with one of our dumpster rentals at ESP Dumpsters. We have multiple dumpster sizes to choose from and will help with all your waste disposal needs.
